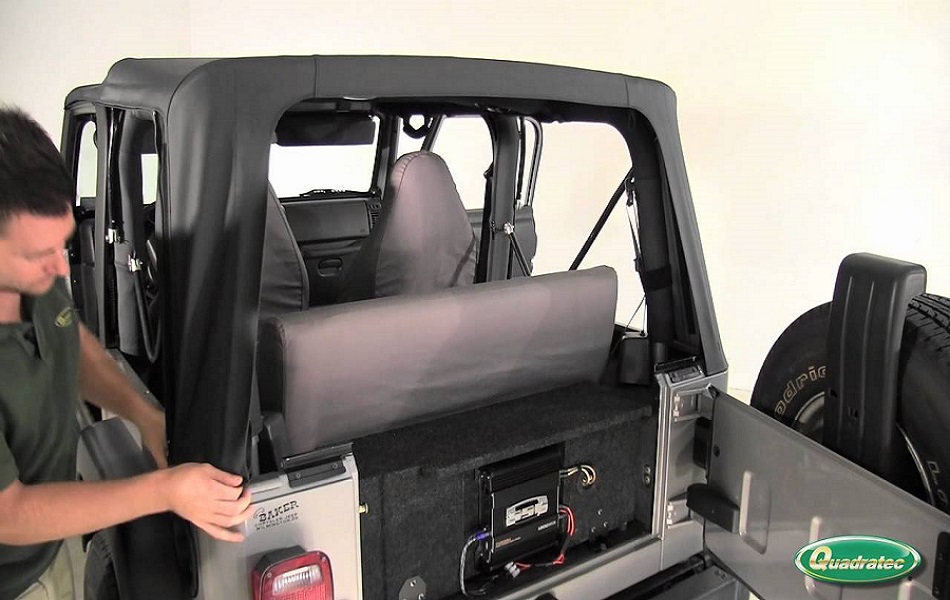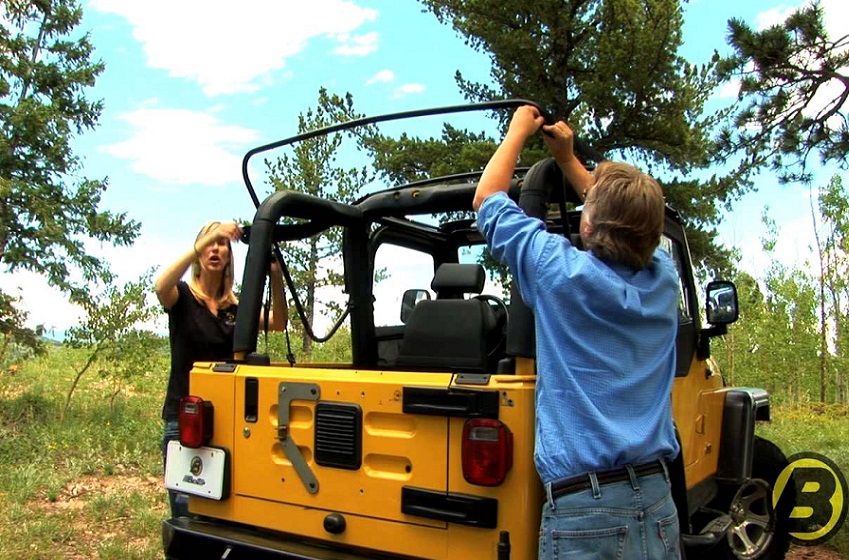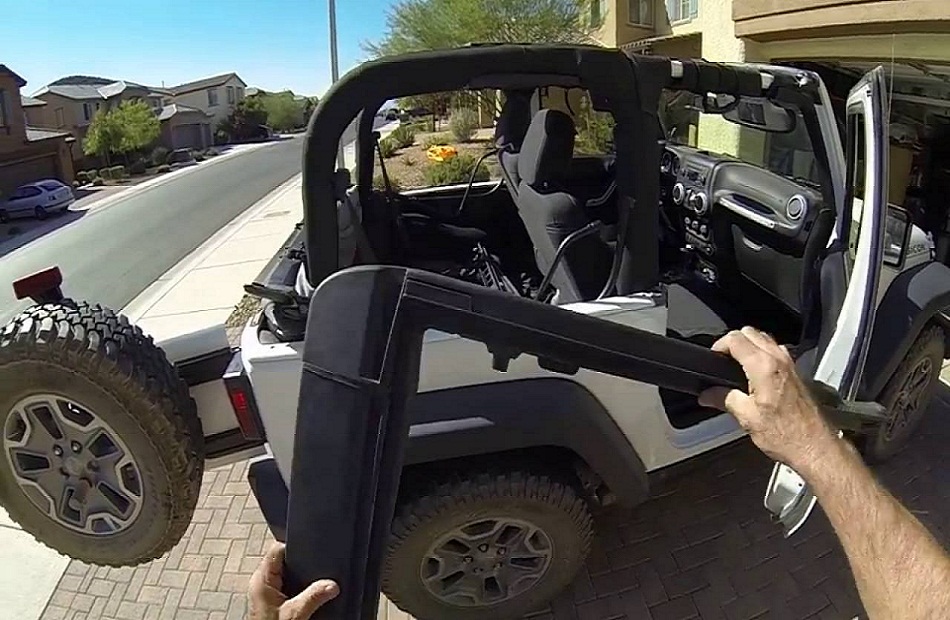
As a Jeep owner, you can always reconfigure the doors and top of your vehicle to suit your needs. For example, you may choose to drive with the doors and the top off during warm summer days. On the other hand, you may decide to drive with them on during cold and rainy seasons. Whatever the case, knowing how to install and remove these components typically helps so that you can enjoy your vehicle to the fullest. Below is a step by step process and simple instructions on how to install the jeep soft top frame;
Must Read : 5 Best Jeep Soft Top Reviews
Quick Navigation
- 1 15 Easy Steps to Install the Jeep Soft Top Frame:
- 2 Step 1: Remove all or any remaining soft top fabric.
- 3 Step 2: Place the new top on your vehicle.
- 4 Step 3: Attach the fabric to bows.
- 5 Step 4: Install the fabric into the windshield channel.
- 6 Step 5: Secure the front bow assembly.
- 7 Step 6: Install rear corners.
- 8 Step 7: Secure rear rows.
- 9 Step 8: Lock the spreader rails into place.
- 10 Step 9: Installing your side curtains
- 11 Step 10: Inside the side curtain into the vertical door surrounding the retainer.
- 12 Step 11: Fasten the side curtains to the body belt rail.
- 13 Step 12: Installing the rear curtain.
- 14 Step 13: Install the tailgate retainer
- 15 Step 14: Secure the tailgate retainer.
- 16 Step 15: Clip the top over-door clips to the hardware.
- 17 Conclusion
15 Easy Steps to Install the Jeep Soft Top Frame:
-
Step 1: Remove all or any remaining soft top fabric.
Once you verify that you have the right hardware, remove any pre-existing soft top from your Jeep. After removing the soft top, check the hardware to ensure that no parts are missing or bent. Once you determine that the hardware is not damaged and it’s correct, raise the bows and the upper door frames and lock the door frame into place. During this time, ensure that rear spreader shafts are not engaged.
For ease of installation and smooth fit, this top should get installed at temperatures higher than 72 degrees. If the temperatures are lower than this, the fabric may easily contract one inch or more, which will make it hard to install.
According to experts, you should remove the top from the package and allow it to sit in direct sunlight or inside a warm area for one to two hours before installing it. When warm, the soft top will install fast. Remember its normal for the fabric to wrinkle and contract when stored in the delivery carton. In a couple of days, this fabric will relax, and its wrinkles will eventually disappear.
-
Step 2: Place the new top on your vehicle.
Position the new top fabric above the hardware system. Ensure that the two rear angles are facing down and the plastic header is facing forward.
-
Step 3: Attach the fabric to bows.
Get the rear and front snap straps and then snap each of them to the rear and front bows securing the soft top to the hardware system.
-
Step 4: Install the fabric into the windshield channel.
Put the front windshield retainer band sewn along the face of the soft top into the front slot of your windshield channel. Make sure you don’t trap any fabric in your windshield channel. As you install, ensure that the top aligned side to side in this channel such that the distance from the midpoint of the windshield.

-
Step 5: Secure the front bow assembly.
Pull or push the front bow assembly into the notch located on the vehicle’s side belt rail.
-
Step 6: Install rear corners.
Install the rear corners to the corner belt railing and ensure that the white of or clear plastic reinforcement is not connecting into the rails. Align the plastic strip’s edge with the retainer’s edge. Repeat the same on the other side.
-
Step 7: Secure rear rows.
Drive the base of the rear bows back towards the back of the Jeep until it enters into place. Ensure that the rear corners of the fabric are still engaged. For the first time you do this, it’ll be tight.
-
Step 8: Lock the spreader rails into place.
Once you secure the rear bows, push up the spreader shafts until they bolt into place. Ensure that when pushing up the spreader bars you go straight and not inwards and up. Pushing inwards will only damage the spreader bars.
-
Step 9: Installing your side curtains
Installing the side curtains is easier once the spreader bar is released. Align and attach the side and top zippers on your side curtains around two to three inches. Remember that the side and top zippers approximately two to three inches on the side curtains.
Remember that side zippers may not align with the corner fabric until you slide it around the belt of the belt railing towards the front of your vehicle. When you attach and zip up the side zipper two to three inches, you can easily slide your corner back around the vehicle’s rear and align the black plastic band with the retainer’s edge.

-
Step 10: Inside the side curtain into the vertical door surrounding the retainer.
With the side and top zippers partially closed two to three inches, slide the plastic strip on the side curtain’s front into the channel of the retainer found on the vertical reinforcement bow.
-
Step 11: Fasten the side curtains to the body belt rail.
Slide the bottom of the side curtain while pulling down retaining the channel into the body belt railing beginning from one end while pressing down on the other. Zip up the side curtains completely, re-engage your spreader rails and then zip up the top side curtains zipper. Next, repeat steps nine to eleven for the other side of your vehicle.
-
Step 12: Installing the rear curtain.
Connect the top zipper on the vehicle’s rear curtain all the way to the top. Attach both sides of the zippers on your rear curtain approximately three to six inches to the top fastening them down.
-
Step 13: Install the tailgate retainer
With your rear curtain loosely fitted, open your tailgate and slip the back curtain retainer onto the rear curtain’s base.
-
Step 14: Secure the tailgate retainer.
Once the rear curtain is attached, you can then roll the tailgate frame into both rear tailgate retainers. After attaching it to the retainer, slide the rear plastic retainers into the base of the channel of the tailgate retainer. Zip and close the two side zippers and the top of your rear curtain.
-
Step 15: Clip the top over-door clips to the hardware.
Fasten the snaps on the top to the over-door slipping studs on the hardware. The snaps will easily slide to match all snap areas on the top.
Watch this Practical Video on How to Install Jeep Soft Top Frame:
Conclusion
There is no secret that the Jeep is one of the most adaptable vehicles throughout the globe. Its appeal extends from the celebrities and off-roaders who utilize it for different reasons to soldiers who have used it in times of war. Taking the adaptable Jeep and installing a new soft top increases the desirability and the cool factor of the Jeep.
Related Post:
Leave a Reply