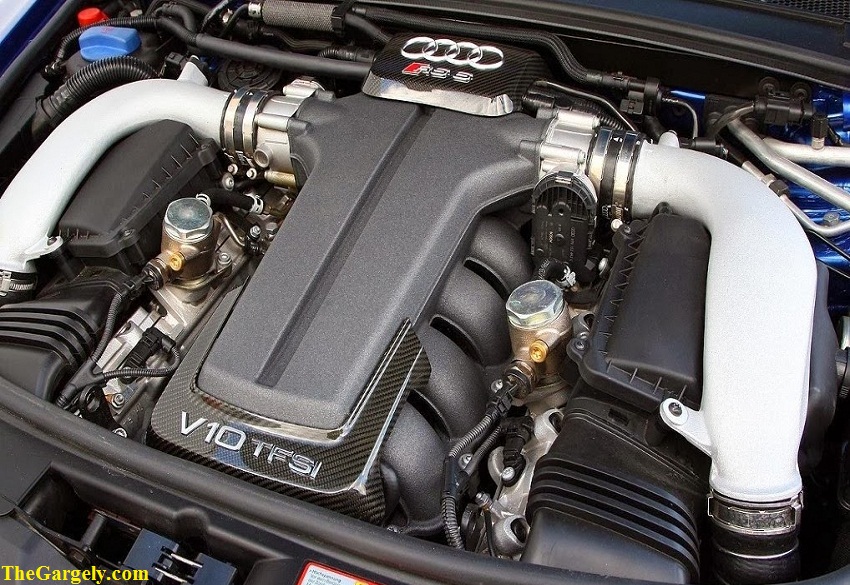
A healthy engine equals to a healthy car. This is because the engine runs the car. It is therefore important to maintain your car engine so that it runs efficiently. A dirty engine means that it has to work harder to keep the car going. As a result, the engine will be running hot and this, in turn, will reduce its lifespan. You should strive to take care of it to avoid excess build-up of residue, to protect the engine, to allow it to run cooler and most importantly, for it to last longer. Also, you can consult a mechanic for engine control module programming to ensure your engine’s efficiency. Engines are quite expensive, so it is better to take care of them to avoid that cost. Here, we will be looking at a step-by-step guide on how you can best take care of your engine for high efficiency.
Quick Navigation
Regular Oil Check-Ups
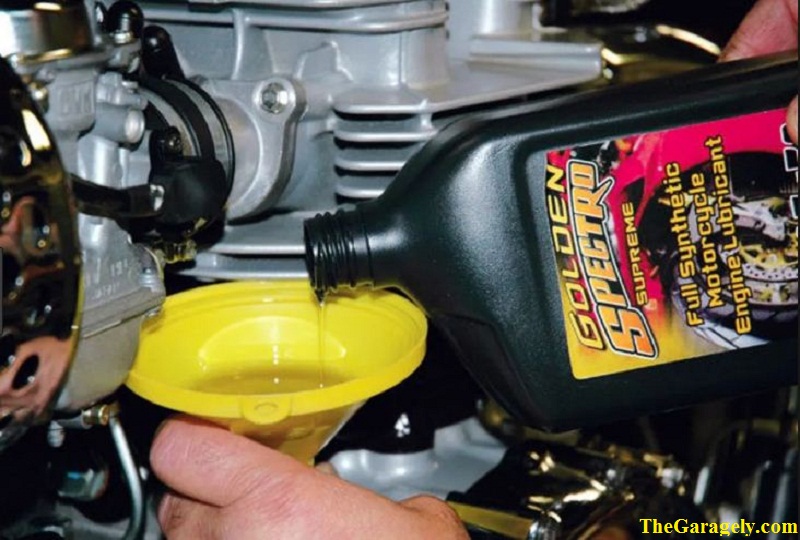
The car consists of many moving and rotating parts. It is vital to ensure the engine is well lubricated. Driving around can cause the oil to degrade. In addition, some of the oil gets burnt up as well. This is why it is important to check your oil regularly. Failure to do this could lead to friction that would wear out the engine or build-up of sludge.
So how often should you change your oil? This depends on the environment you are in and how often you use your car. If you drive on dusty roads or use your car often, it is vital to check your oil regularly. This could be every 3 months. To check your oil, pull out the engine oil dipstick. If it looks dirty, then that is a clear sign it needs changing.
Keep the Engine from Overheating
The job of the cooling system in your car is to keep the temperature of the engine within the limits. It can easily warm up due to the fuel burnt up by the engine that generates a lot of heat. In case the cooling system malfunctions, for example, due to a leak, the engine can overheat thus causing a lot of problems. If you notice some overheating, then do not think twice about getting your car checked.
Regularly Change the Oil Filters at Intervals

The oil filter prevents dust and other debris from clogging your engine. If the oil filter is dirty, it can limit the air supplied to the engine thus resulting in slow performance. Also, an old oil filter can tear, causing dust and other debris in your engine resulting in more wear and tear. It is advised that you should change the oil filter regularly depending on the instructions provided in the manual.
Change Worn Out Drive Belts
The drive belt is normally connected to your engine. It runs the alternator, the air-con compressor and among other components connected to your engine. As the car is constantly in use, the drive belts eventually wear out. This in turns leads to breakage which can be a huge complication for your engine. The first sign that your drive belts are damaged is a squeaking noise. When you hear this, it is time to have your drive belts checked.
Washing your Car Engine
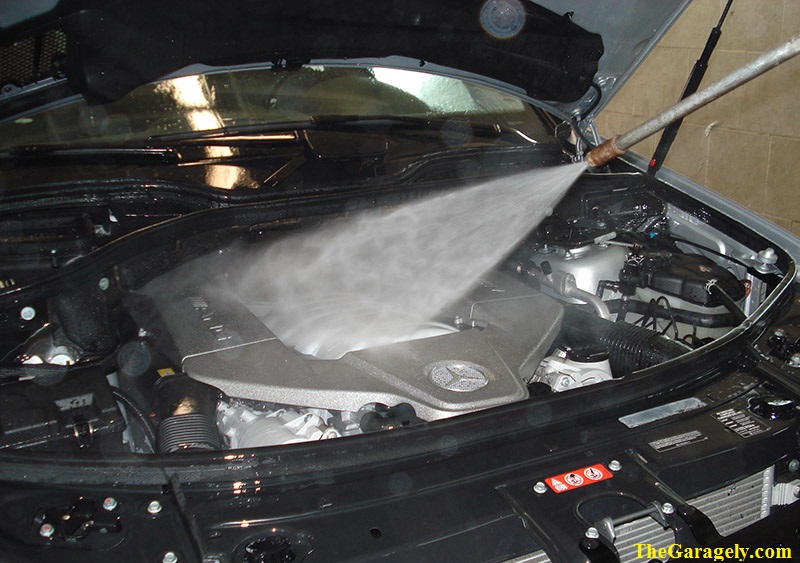
This is a touchy subject considering most drivers normally shy away from washing their engine due to fear of damaging the parts or in the worst case scenario, blowing up the engine. Nonetheless, it is important to clean the engine to get rid of excess build-up that could clog it. To do this, you can follow the 5 steps that will not only leave your engine clean but also keep other components safe while cleaning.

Step 1: Prepare Equipment
The first thing you should do is assemble all your equipment and keep it next to the engine for ease of access. These could be brushes, vacuum cleaner, spray wax, degreaser, microfiber towels and among others. For safety, you can use hand gloves and safety glasses.
Secondly, you can either get rid of the battery or disconnect the positive and negative leads. This is to avoid electrocution that can come from electric currents and water. Lastly, make sure all the components are watertight to avoid water from getting into them.
Step 2: Dry Clean
This process involves getting rid of sediments such as dust and road grime that easily settles on the engine. It may not look like an important step, but it actually makes a difference because the dirt is agitated. This gets the engine ready for a wet clean. For this step, you can use brushes. For a thorough clean, use a vacuum cleaner or a leaf blower to get rid of all the sediments stuck in the tight areas of the engine. Use a dust mask to protect yourself from inhaling all the dust.
Step 3: Wet Clean
This is the most complicated step because there are more wires and more crevices. The question here is whether to wet clean when the engine is warm or cold. To check the temperature, place your hand on the engine. If you can comfortably leave it there for a while, you can clean the engine. If not, then let the engine cool down. Keep in mind that it is not advisable to clean a hot engine because when you introduce cold water, the metals contract quickly resulting in warping or cracking of the parts. It is best to wet clean when the engine is warm as the dirt comes off easier.
The best way to do this is to start with half the engine, work your way through it and then move to the other side. For some cars, you can remove the intake and clean it outside of the engine to create more room for you to clean efficiently.
Start by wiping the grease off the engine as it helps cool the engine better. Grease acts as a layer of insulation between the engine and cold air around it. Thereafter, spray a degreaser. Use a brush or pipe cleaner to agitate the dirt. As mentioned, the engine has many wires. It is therefore not advisable to use a hose. Instead, wipe the degreaser off using microfiber towels.
Step 4: Dry
This step applies when you washed around the engine bay. In this case, you may have used water. Therefore, absorb as much water as you can to avoid problems when putting back the battery or any other component you may have removed. You can use microfiber towels to wipe or a vacuum cleaner for all the tight spots.
Step 5: Detailing
Since the engine has rubber, plastics, and metals covered on it, it is best to use a water-based trim restorer. This is because it is non-greasy, does not collect dust, restores the color of the rubber and plastics and protects them. Do not make a mistake of using oil or greasy product for detailing as this may end up collecting dust and damaging the plastics and rubbers.
You can start off this process by using a brush to coat the surface with the trim restorer. After that, let it soak for 10 minutes, then use microfiber towels to buff. Make sure you avoid the drive belt because the chemicals in the product can cause it to squeak, or at the very worst, slip. This step leaves your engine looking as good as new.
Some Other Helpful Resource:
Leave a Reply