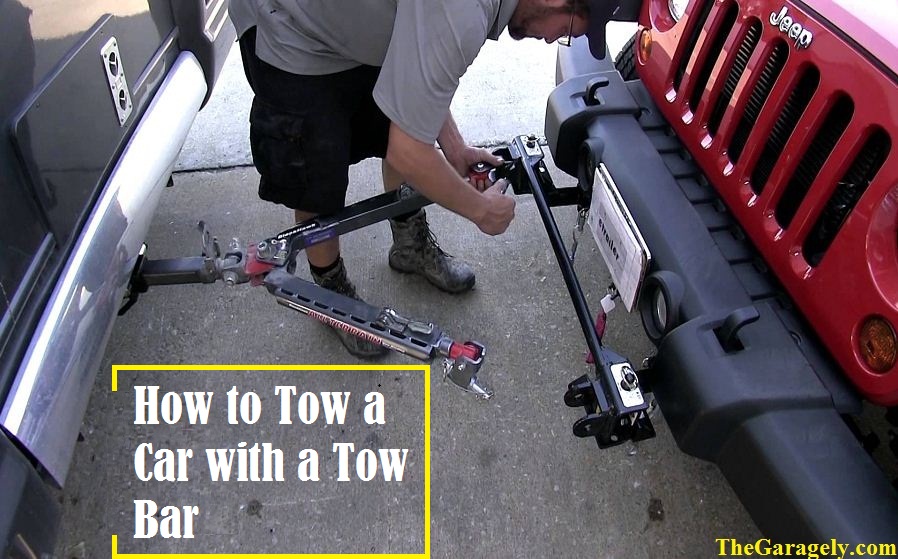
At some point, you may need to tow your vehicle due to a number of reasons like taking your vehicle along on a trip or just transporting it to a different location. Either way, it is important for you to have the knowledge on how to properly tow your vehicle. Before you decide to tow your vehicle, it is also a good idea for you to learn and be able to follow all the local laws regarding towing. Below are some easy to follow steps that will guide you to make the towing process easier.
Quick Navigation
- 1 Step 1: Choose The Best Tow Bar for your Vehicle
- 2 Step 2: Locate a Suitable Mounting Area
- 3 Step 3: Drill Out Holes for Mounting the Tow Bar
- 4 Step 4: Clean the Surfaces
- 5 Step 5: Install the Mounting Brackets
- 6 Step 6: Ensure All the Fasteners Are Tight Enough
- 7 Step 7: Wire The Tow Bar
- 8 Step 8: Install The Tow Bar
- 9 Step 9: Attach Safety Chains Between The Two Vehicles
- 10 Step 10: Follow-Up Inspection
- 11 Here is a Video Review on How to Tow a Car with a Tow Bar:
Step 1: Choose The Best Tow Bar for your Vehicle
Before you even start the process of towing, make sure that you have the correct tow bar for your vehicle. A few factors will help you in selecting a tow bar that is perfect for your vehicle. Some of these factors include:
- The amount of weight you intend to pull.
- The make and model of your car.
- Ensure that the tow bar has clear instructions on how to use.
- Ensure that you won’t be invalidating any warranties by installing the tow bar by yourself.
Step 2: Locate a Suitable Mounting Area
If you check well on your front bumper, you are likely to find a sturdy location where the tow bar can be attached. Try putting the tow bar up against the bumper to see whether it fits comfortably and whether it can directly attach to the bumper. To make this process smooth and easy, you will need help from someone else to assist in holding it in place.
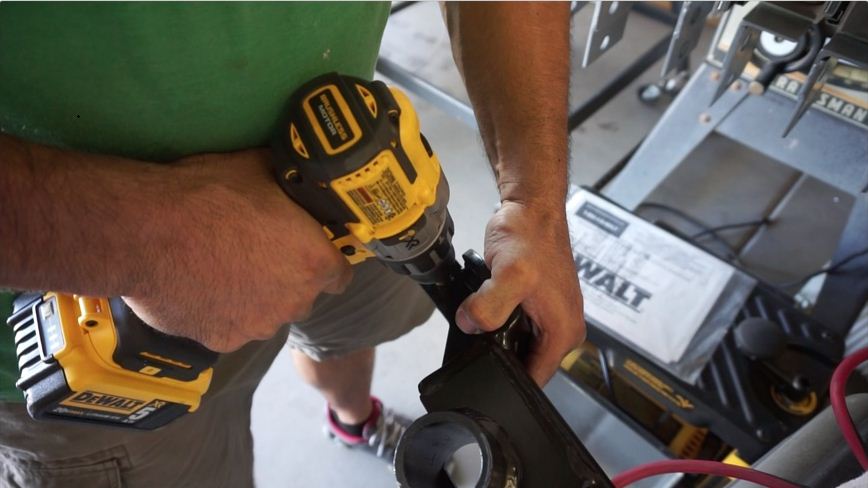
Step 3: Drill Out Holes for Mounting the Tow Bar

This is a process that should be undertaken with the utmost care. If it’s wrongly done, it might damage some parts of your vehicle like the radiator. To ensure accurate drilling at the desired point, you can create a one inch cross of tape at the exact spot you intend to drill. Another option is to put an indent in the drill spot using a punch and a hammer. This helps in preventing the drill from sliding off from the desired point of drilling.
Carefully drill a hole that is the same size as your bolt to avoid the bolt getting loose. You can find information about this size on the manual that came with your tow bar. If not so, then you can use a ruler to accurately measure the width of the bolt.
Step 4: Clean the Surfaces
In order to ensure a long term installation, see to it that you clean the surfaces of the tow bar that come in contact with the chassis of your vehicle. The surfaces should remain free of coating, corrosion, and dirt. For better results, you should use a spatula or scraper.
Also, treat the drill holes in order to prevent post-treatment or corrosion of the holes. The best way to achieve this is by spraying and vacuuming the holes to remove drilling waste and iron grindings, then applying an anti-corrosive substance.
Step 5: Install the Mounting Brackets
After drilling the holes and cleaning the surfaces, it is now time to assemble the mounting brackets and their hardware. Detailed instructions on how to do this can also be found on the tow bar manual.
Use the tow bar as a guide in finding a strong part of the vehicle frame where you can attach a bracket on either side. Remember to use lock washers that correspond to the size of the brackets so as to prevent the bolts from getting loose when you begin towing the vehicle.
Step 6: Ensure All the Fasteners Are Tight Enough
Well tightened fasteners will help in strengthening the tow bar to your vehicle. Consider using a wrench and ratchet together with the right socket so as to tighten all the bolts and nuts as much as possible. After you’ve finished, check each and every one of them to confirm that they are tight enough.
Another confirmation check can also be done after traveling a few miles to ensure that they haven’t started to loosen. If they have, then you will have to re-tighten them once more.
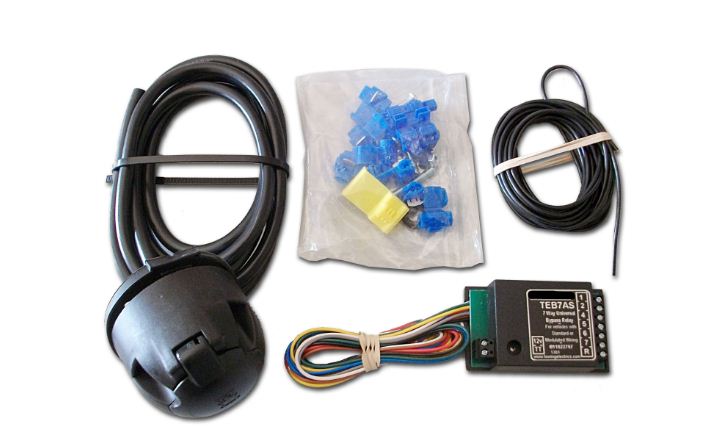
Step 7: Wire The Tow Bar

This is the process that will ensure your braking lights flow between both electrical systems of your vehicles. Make sure that both the brake lights and the turn signals of your vehicles are always working in tandem for the safety of other people sharing the road with you.
For this purpose, you will have to purchase a 12N electrical system for standard vehicles or a 12S system for caravans. These systems come with color coordinated pins that correspond to a different light in both vehicles. You also have an option of using removable tail lights that do not connect the electrical systems of your vehicles. This is a good option if you do not intend on towing the vehicle that often.
Step 8: Install The Tow Bar
The mounting brackets that you previously installed have a hole through them that will enable a linch pin to slide into. Align the tow bar with these holes and drop a linch pin into each hole that will connect the tow bar to the mounting bracket.
Step 9: Attach Safety Chains Between The Two Vehicles
To avoid getting into trouble with the authorities, ensure that you use safety chains. These will protect your car from careening into traffic in case the tow bar unhitches itself.
Step 10: Follow-Up Inspection
After you’ve followed all the above steps and you think that everything is in place, try going through each and every process again to ensure everything has been done correctly. Make sure that you have used all the fastening materials you had at your disposal. Also, check to ensure that all the processes have been completed without leeway. Your vehicle is now ready and safe for towing.
Leave a Reply